→
MARK · ORDER
Home / Custom Windows Made to Order / How a Custom Window Order Starts
WINDOW SCHEDULE — FROM FIRST IDEA TO ENQUIRY
How a Custom Window Order Starts
Six steps of preparation, each tied to a guide. Work down the schedule and your enquiry will describe the window you actually need.
Any window can be made to order, and every order starts the same way: with a clear picture of the opening and the window that should fill it. This schedule covers your side of that start. It lists the choices to make and the details to gather at home before you send a Window Enquiry. The full offer is set out on Custom Windows Made to Order.
00
MARK · PREP
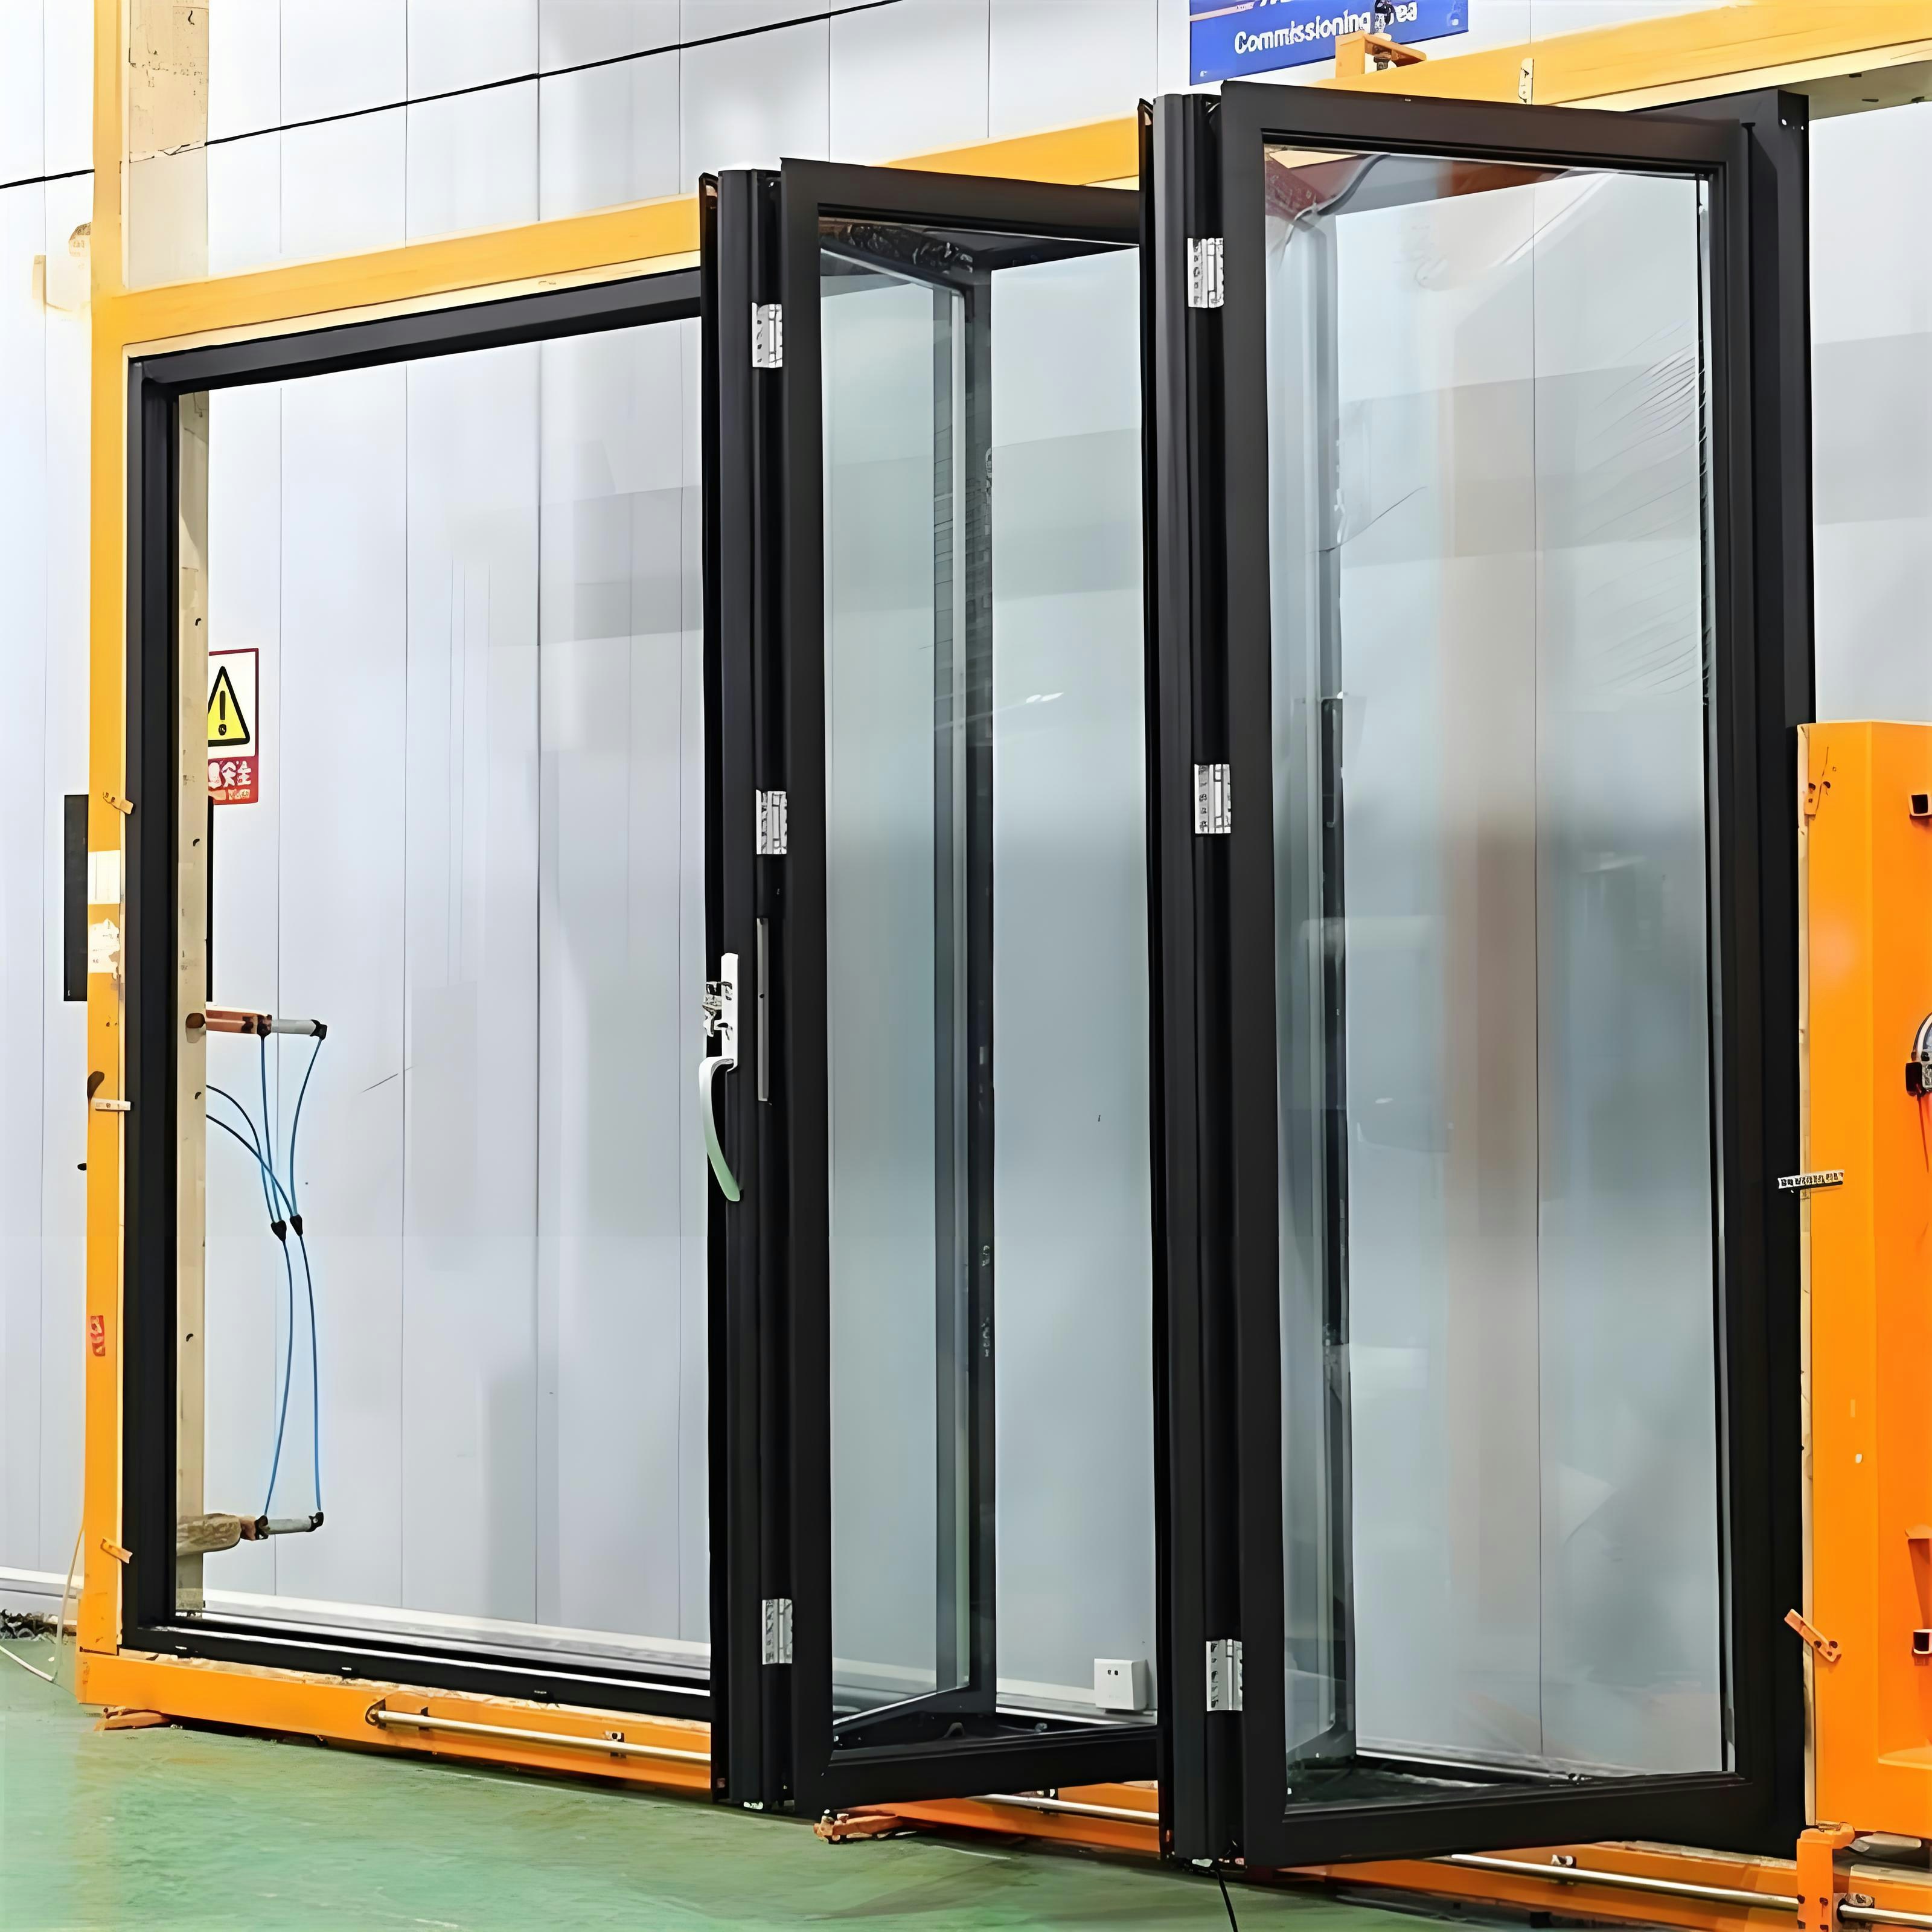
Reference photo: black-framed window units on display.
PREPARATION CHECKLIST
What to have ready before you enquire
STEPITEM · GUIDE
S1A window style in mind · Window Styles Guide
S2A preferred frame material · Frame Materials Guide
S3A glass choice, or the problem it should solve · Glazing Options Explained
S4Notes on the house and the existing window · Windows for Period Homes, Restore or Replace?
S5Rough measurements of each opening · Measuring and Sizing Basics
S6One clear description of the window you need · Window Enquiry
None of it has to be final. If you haven’t decided something yet, just say so plainly. That still helps.
STEP
S1
WHAT TO NOTE
Start with how the window should move. Casement and awning windows swing on hinges. Sash windows slide up and down, sliding windows move sideways, fixed windows don’t open, and a bay projects out from the wall to form a small alcove. Think about the room: where the fresh air should come in, whether an open sash would get in the way of a path or a blind, and how you’ll reach the glass to clean it.
Not sure of the name? Write down what the room needs instead, like “ventilation over the kitchen bench” or “a wide view with no bars”.
STEP
S2
Consider the frame
Timber, aluminium and uPVC each change how a window looks from the street and how much care it needs. Timber suits traditional facades and can be repainted over the years. Aluminium allows slim frames and large panes of glass. uPVC asks for little maintenance. Pick the frame that suits the rest of the house, and write down any colour or finish you already know you want.
STEP
S3
Decide on the glass
The glass decides how comfortable a room feels. Single glazing is the simplest option. Double glazing traps an insulating gap between two panes. Acoustic glazing uses laminated glass to cut down street noise, and Low-E glass has a thin coating that reflects heat.
You don’t need to know product names. Just note what you want to fix, like a cold bedroom, a noisy road or a west-facing room that overheats, and the right glass will follow.
STEP
S4
Check the house and the existing window
4A · PERIOD DETAILS
Keep the character
On a Victorian or Edwardian facade, the windows are part of the streetscape. Note the details worth keeping: timber sashes, the proportions of the panes, glazing bars, frame depth and the sill. A window made to order can follow those lines, so photograph the originals inside and out before anything changes.
4B · RESTORE OR REPLACE
Is a new window the right call?
A tired window doesn’t always need replacing. Peeling paint, a sticky sash and worn seals can be surface wear. Soft or split timber, a frame that no longer fits its opening, or wanting better glass all point towards a new window. Go through the five checks and note which way your window leans.
STEP
S5
Take rough measurements
Rough is enough at this stage. These figures describe the opening. They aren’t a cutting list.
1Width of the opening at the top, middle and bottom
2Height at the left, centre and right
3Which figure was the smallest, and whether you measured inside or outside
4The room and wall each window belongs to
5A straight-on photo of each opening with the whole frame in view

Reference photo: a tape measure, the only tool this step needs.
STEP
S6
Send the Window Enquiry
Gather your notes from steps S1 to S5 into one message.
Describe each window in plain words: the style, the frame, the glass, the house it’s for and the rough sizes. If a choice is still open, say that too. Keep your photos of the openings to hand so you can share them as the conversation goes on. The conversation starts with the enquiry form on the contact page.
Still weighing something up? See Window Questions or browse all the Window Guides.